Same cities, Different Pulse: Street food and Metro diaries unfold
From metro tiles to street-side spice, this bridge post connects Metro Diaries and Street Food Diaries across three cities that feed us twice.
From metro tiles to street-side spice, this bridge post connects Metro Diaries and Street Food Diaries across three cities that feed us twice.
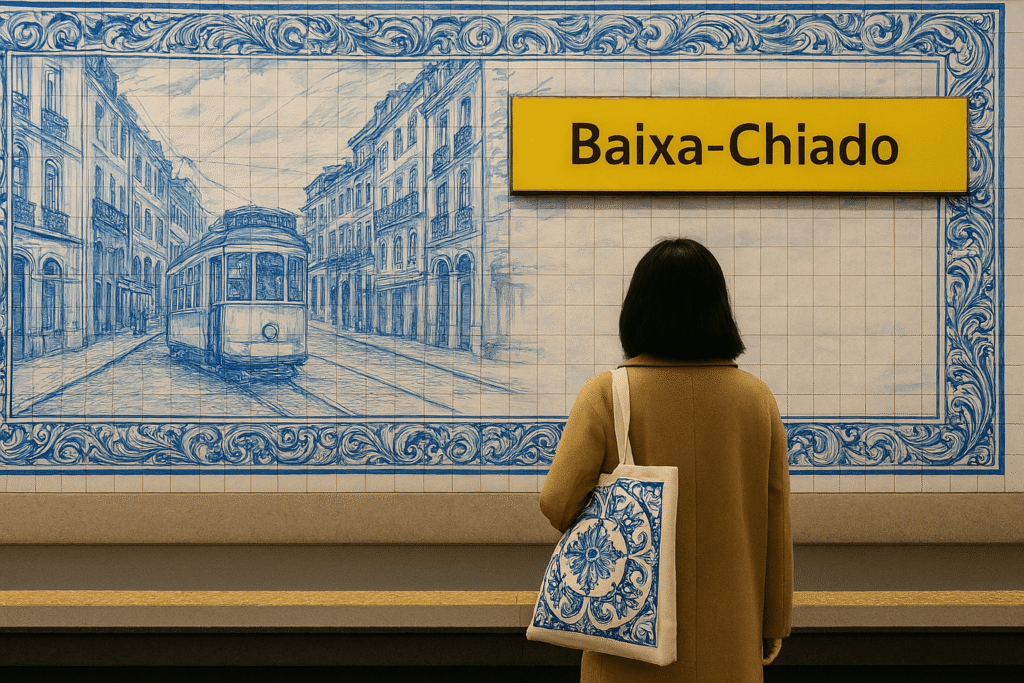
Stillness, Azulejos, and the Rhythm of Re-entry If you missed our last stop in Tokyo, where silence moves faster than
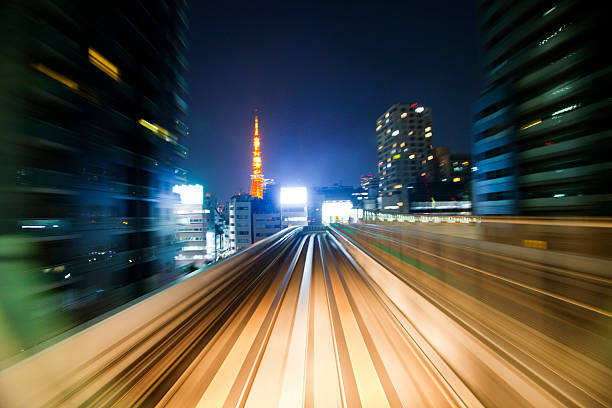
If you missed our first stop in Mumbai, where the metro app sets the rhythm, catch up here.” Tokyo Metro
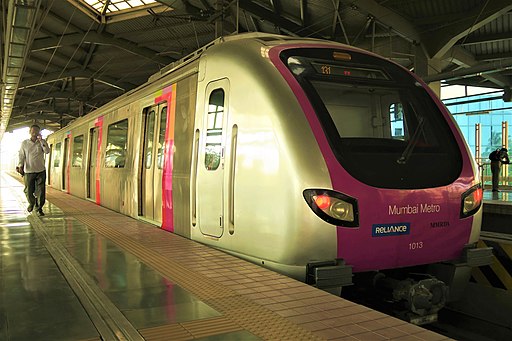
Mumbai Metro Diaries – Swipe, Scan, Ride The Mumbai metro isn’t just a commute—it’s a rhythm. With its ticketing app,
The content on this page is protected. Copying is disabled.